My parsley was a gold mine last winter. I had covered it with blankets against snow and ice, and whenever I wanted some fresh parsley for cooking, I just went out and looked under the layers of blankets and could pick some. It was really amazing.
When spring came, I soon saw the parsley wanted to go blooming. Then I decided to make an experiment. What do they look like when blooming? I followed the plants developing into flowers. In the middle of the summer I had parsley flowering all over the planting place (see photo).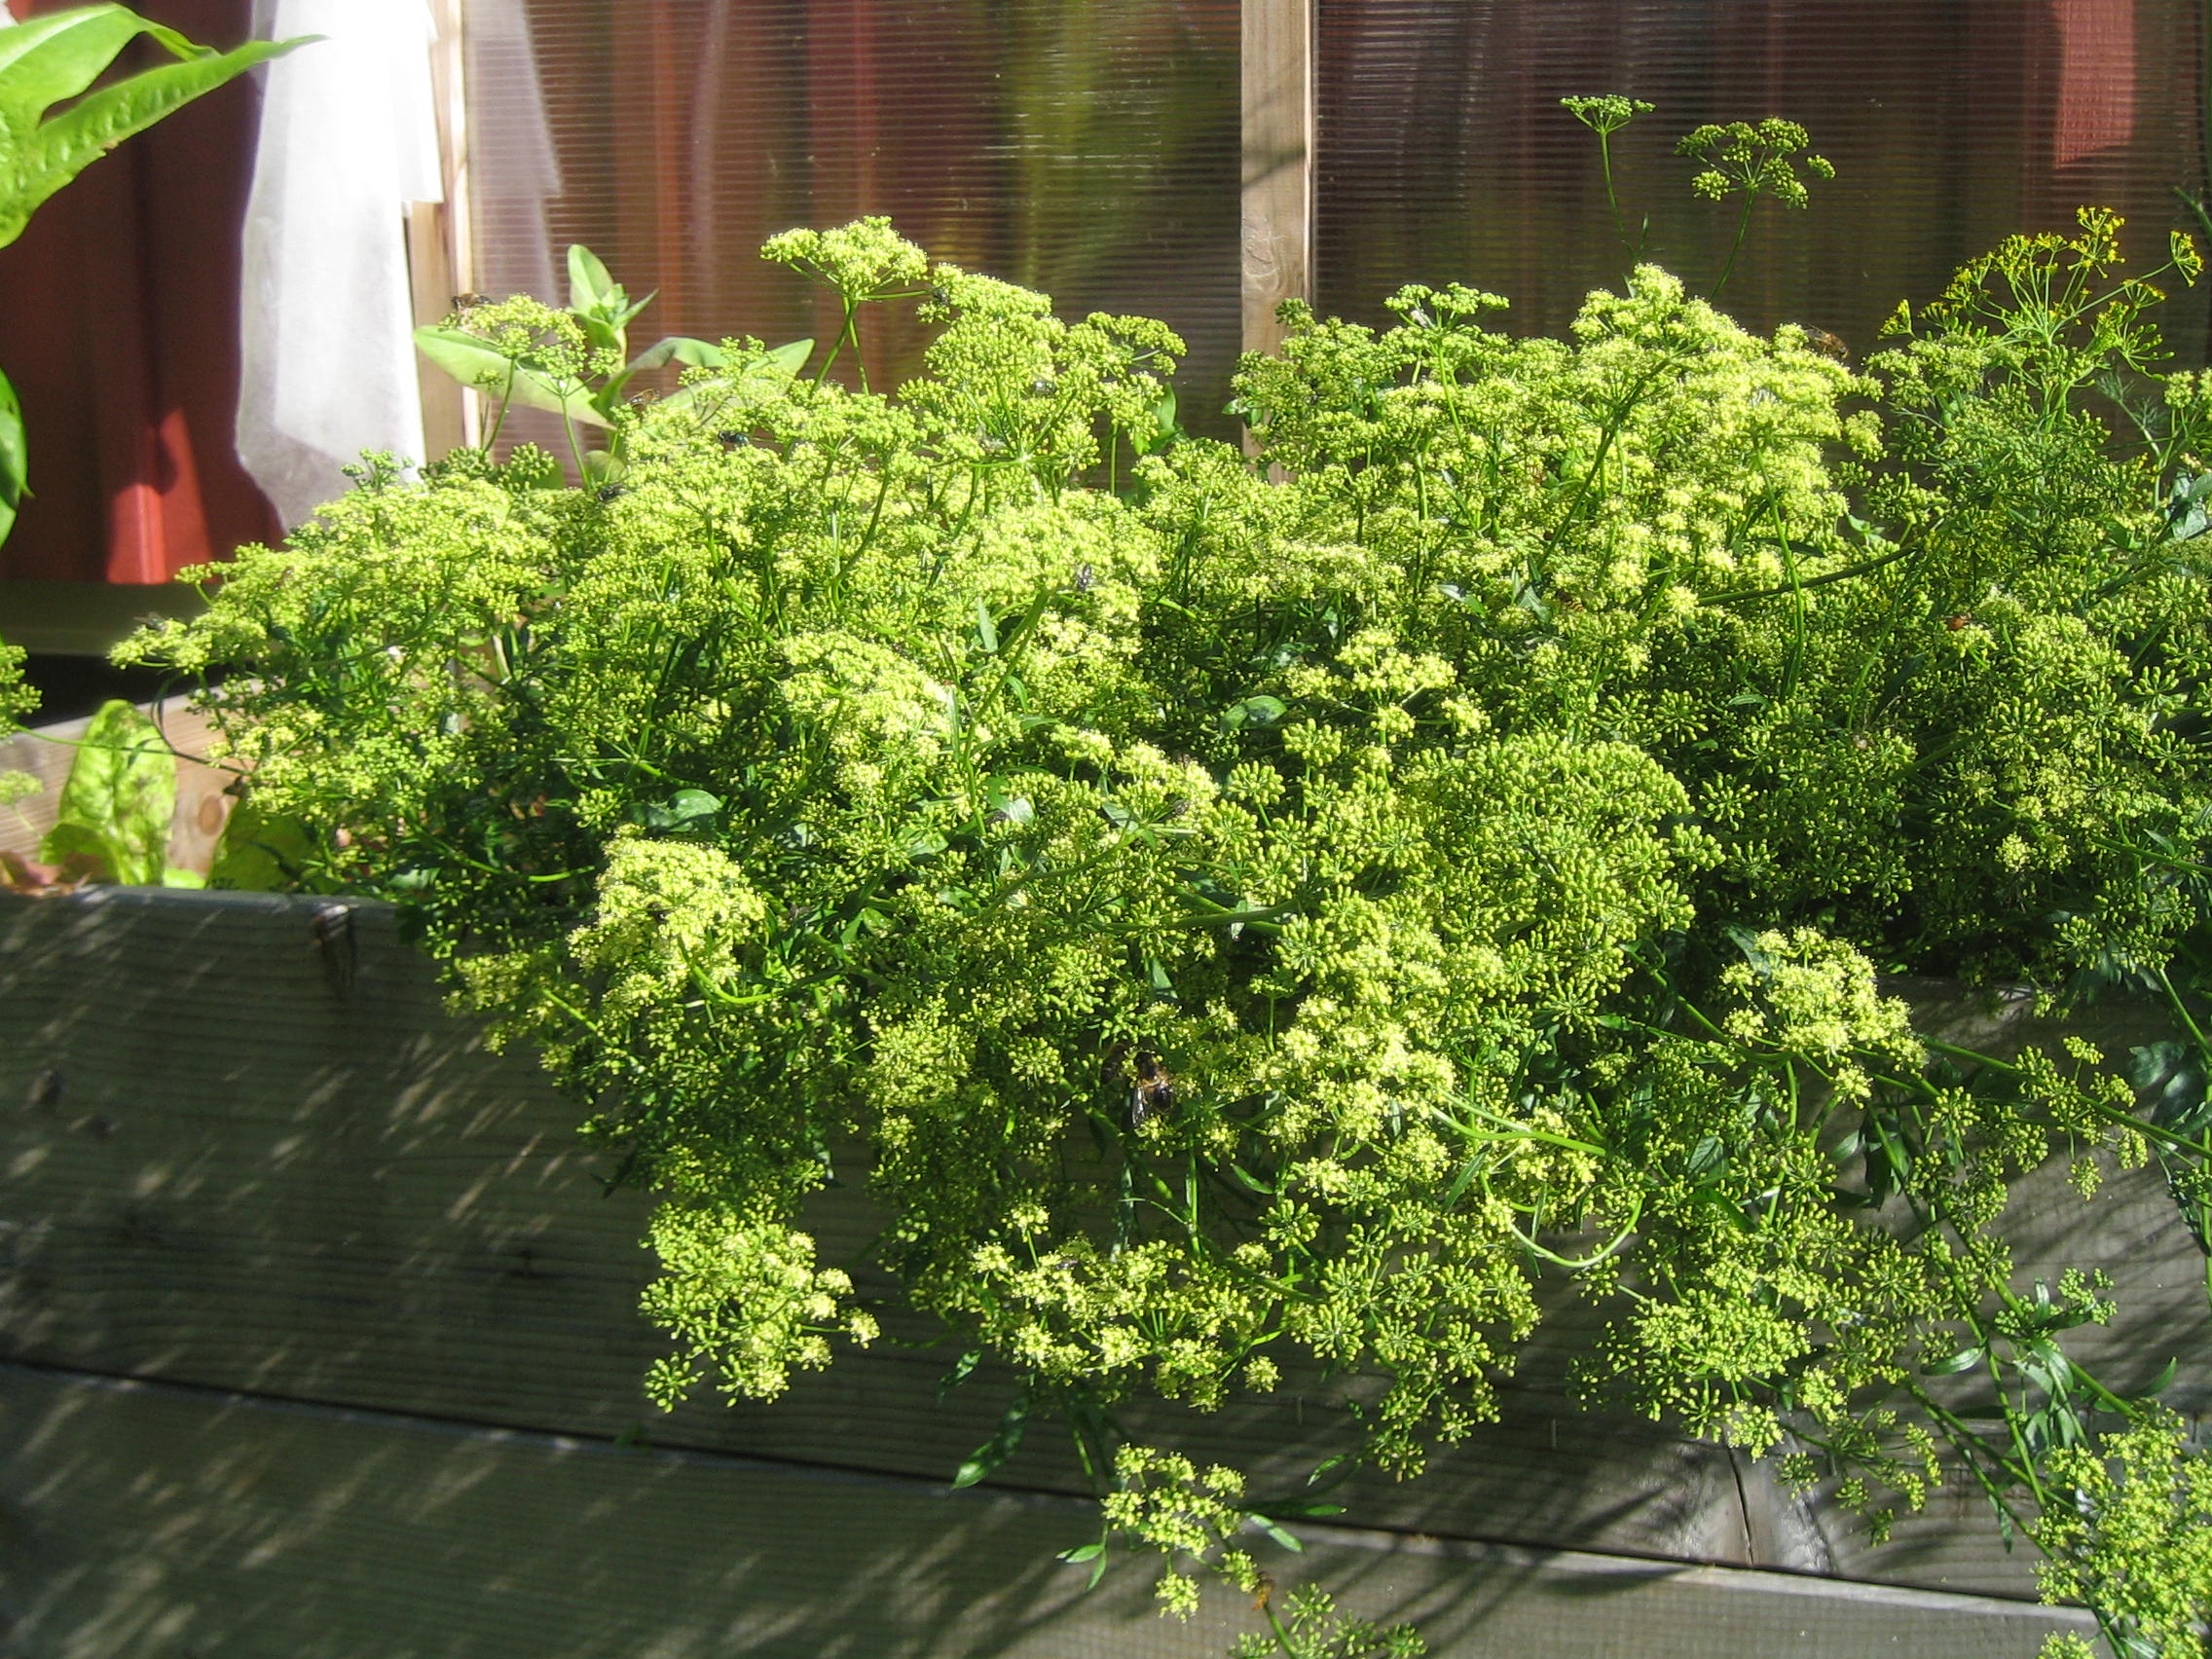
The flowers of the parsley are very, very small, and they were a gift to all the very small insects. It was sheer pleasure standing near, hearing the buzz in the air and seeing the small ones enjoying their meal 🙂
And no, I did not get any parsley to eat this season. Well, the experiment continued, and by autumn the pollinated flowers had turned into seeds. Some weeks ago I cut off the long stems and put everything to dry on the veranda.
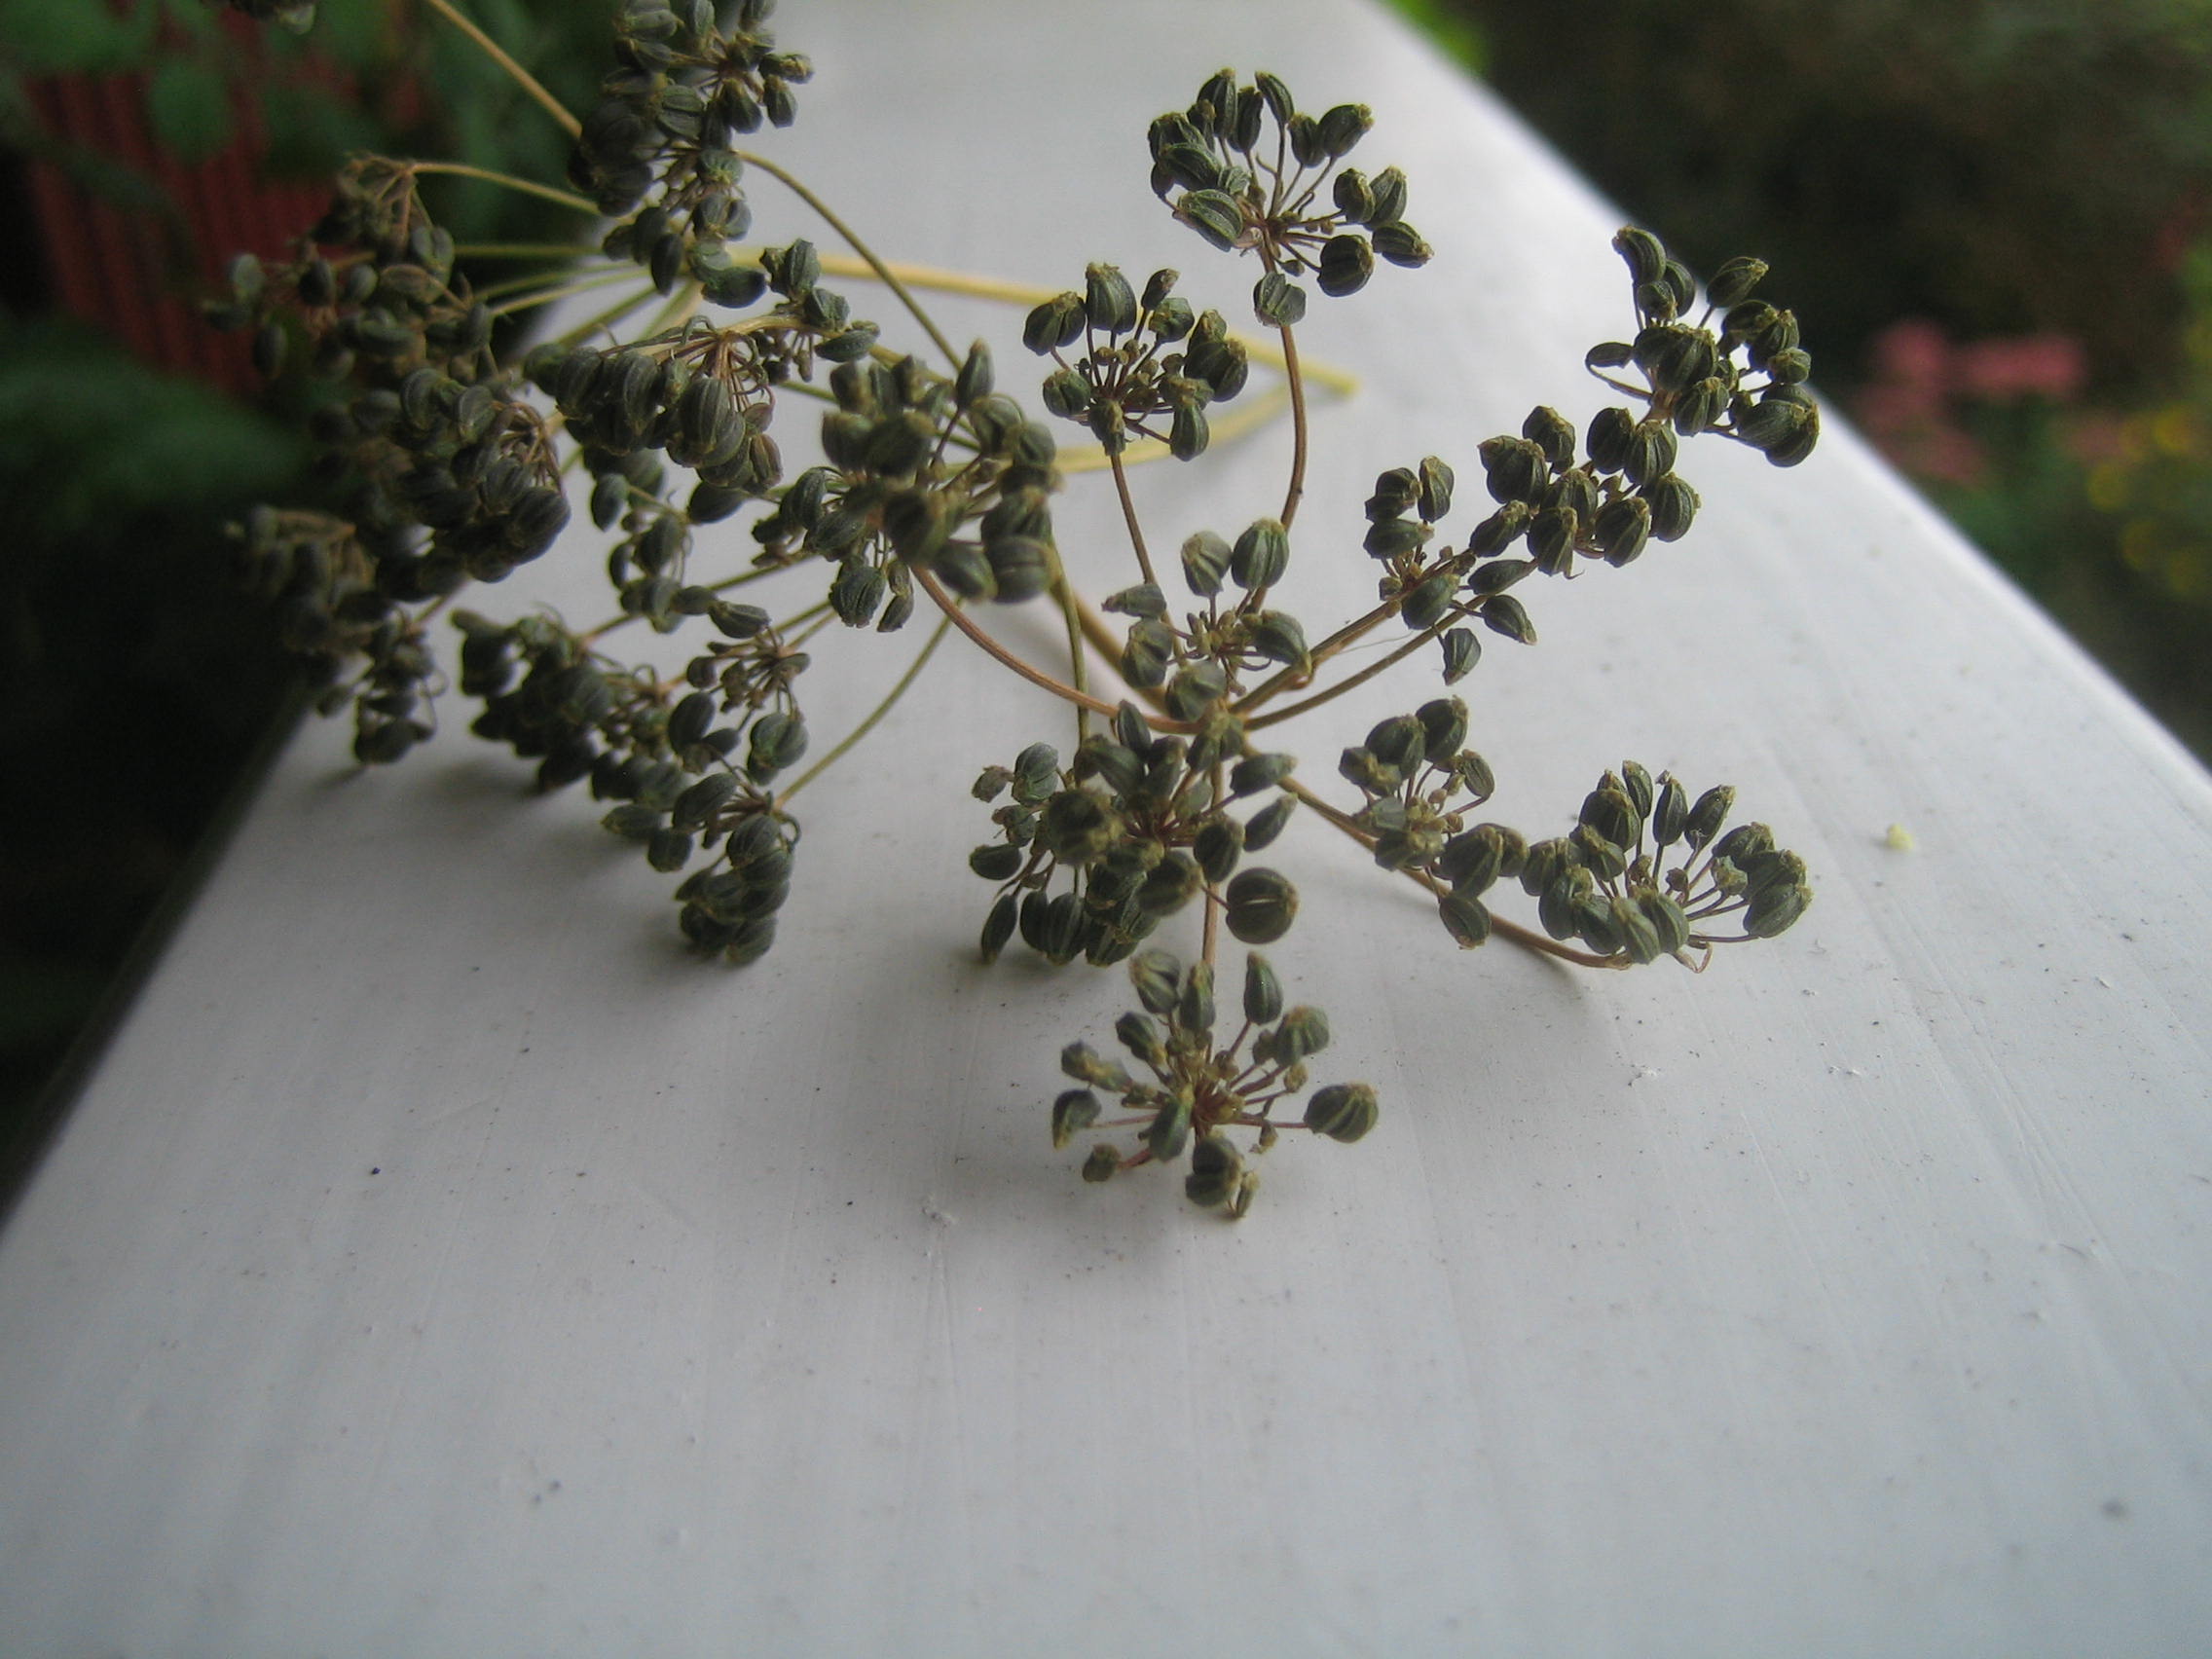 Yesterday I saw the seeds had dried and I carefully cut off the top of the stems, with the “seed flower”. An easy way to get the seeds from the “flower” is to put the whole “seed flower” in a plastic bag. When you have filled the bag you shake, press and rub the content for a few seconds – and all the seeds fall off so you will have a nice little heap in the bottom of the bag. I learned this trick from a Norwegian writer, Annemarta Borgen, and her book “Urtehagen på knatten”.
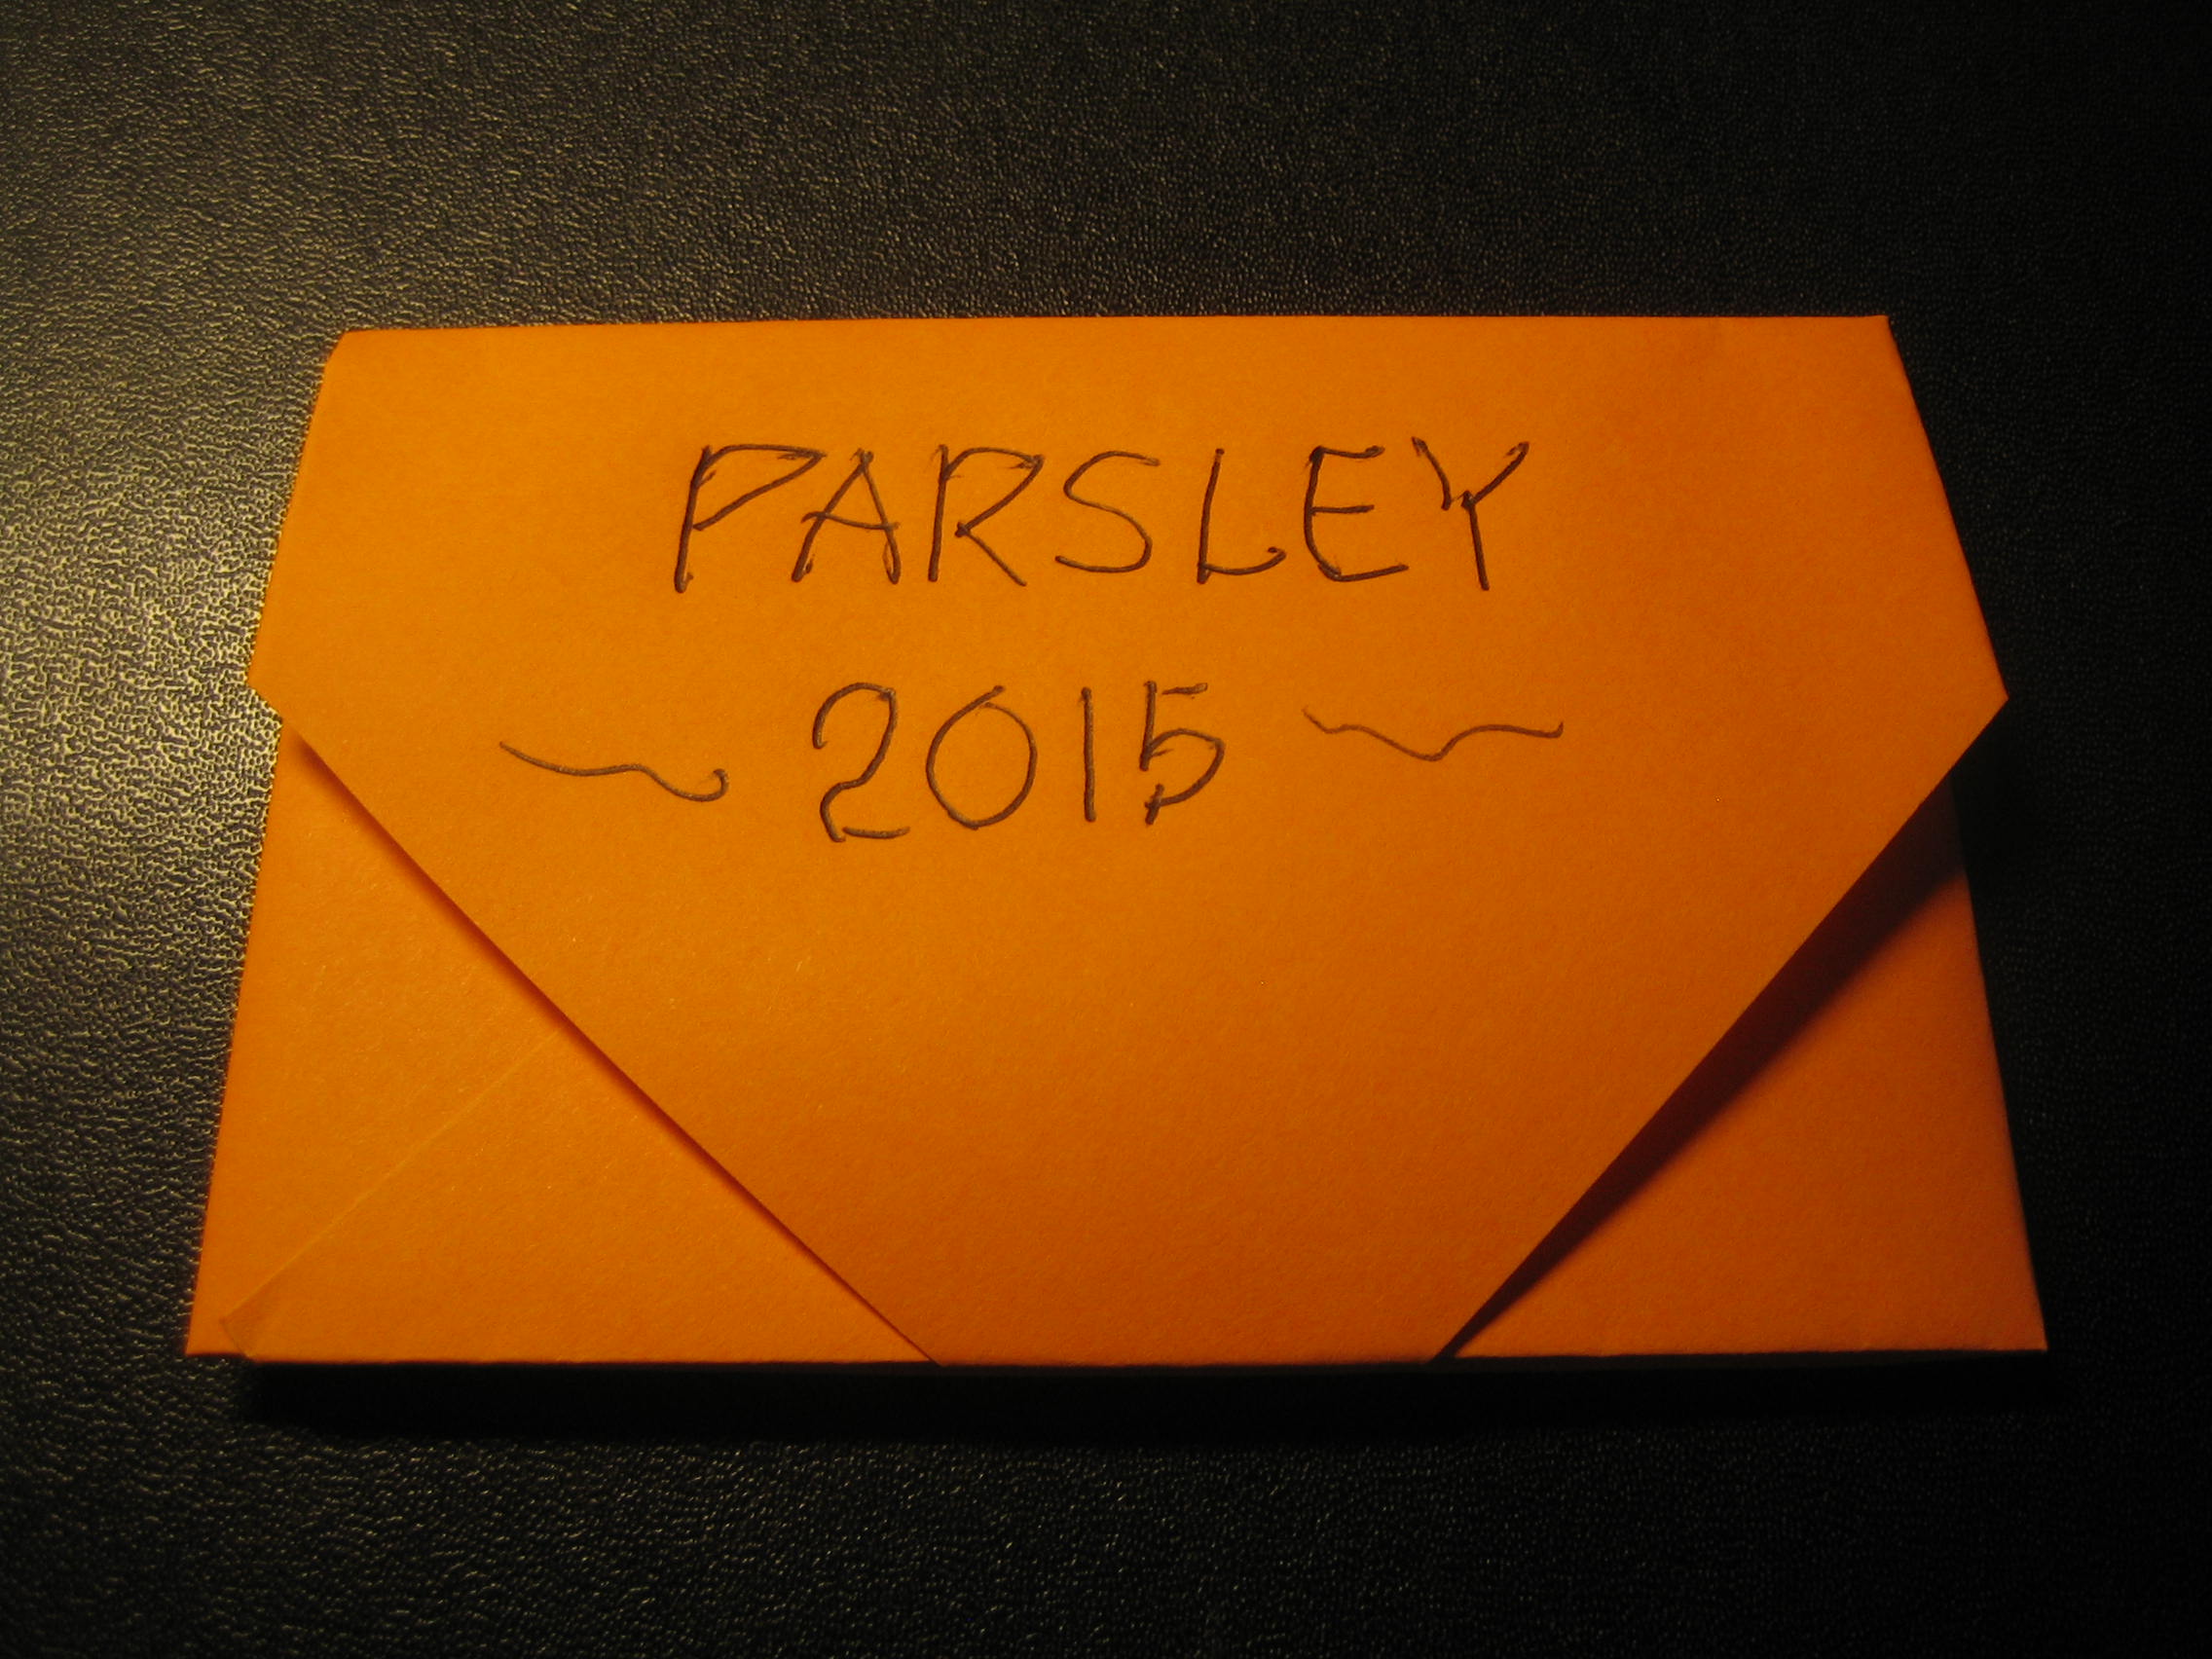
I got so much parsley seed that I can give it away as gifts, in addition to planting parsley next season. See to that the seeds are dry, when you put them away for the winter. A nice way to store them is to fold your own “envelopes”. That is also a nice package if you want to give away seeds as gifts. Here is how to make the envelopes:
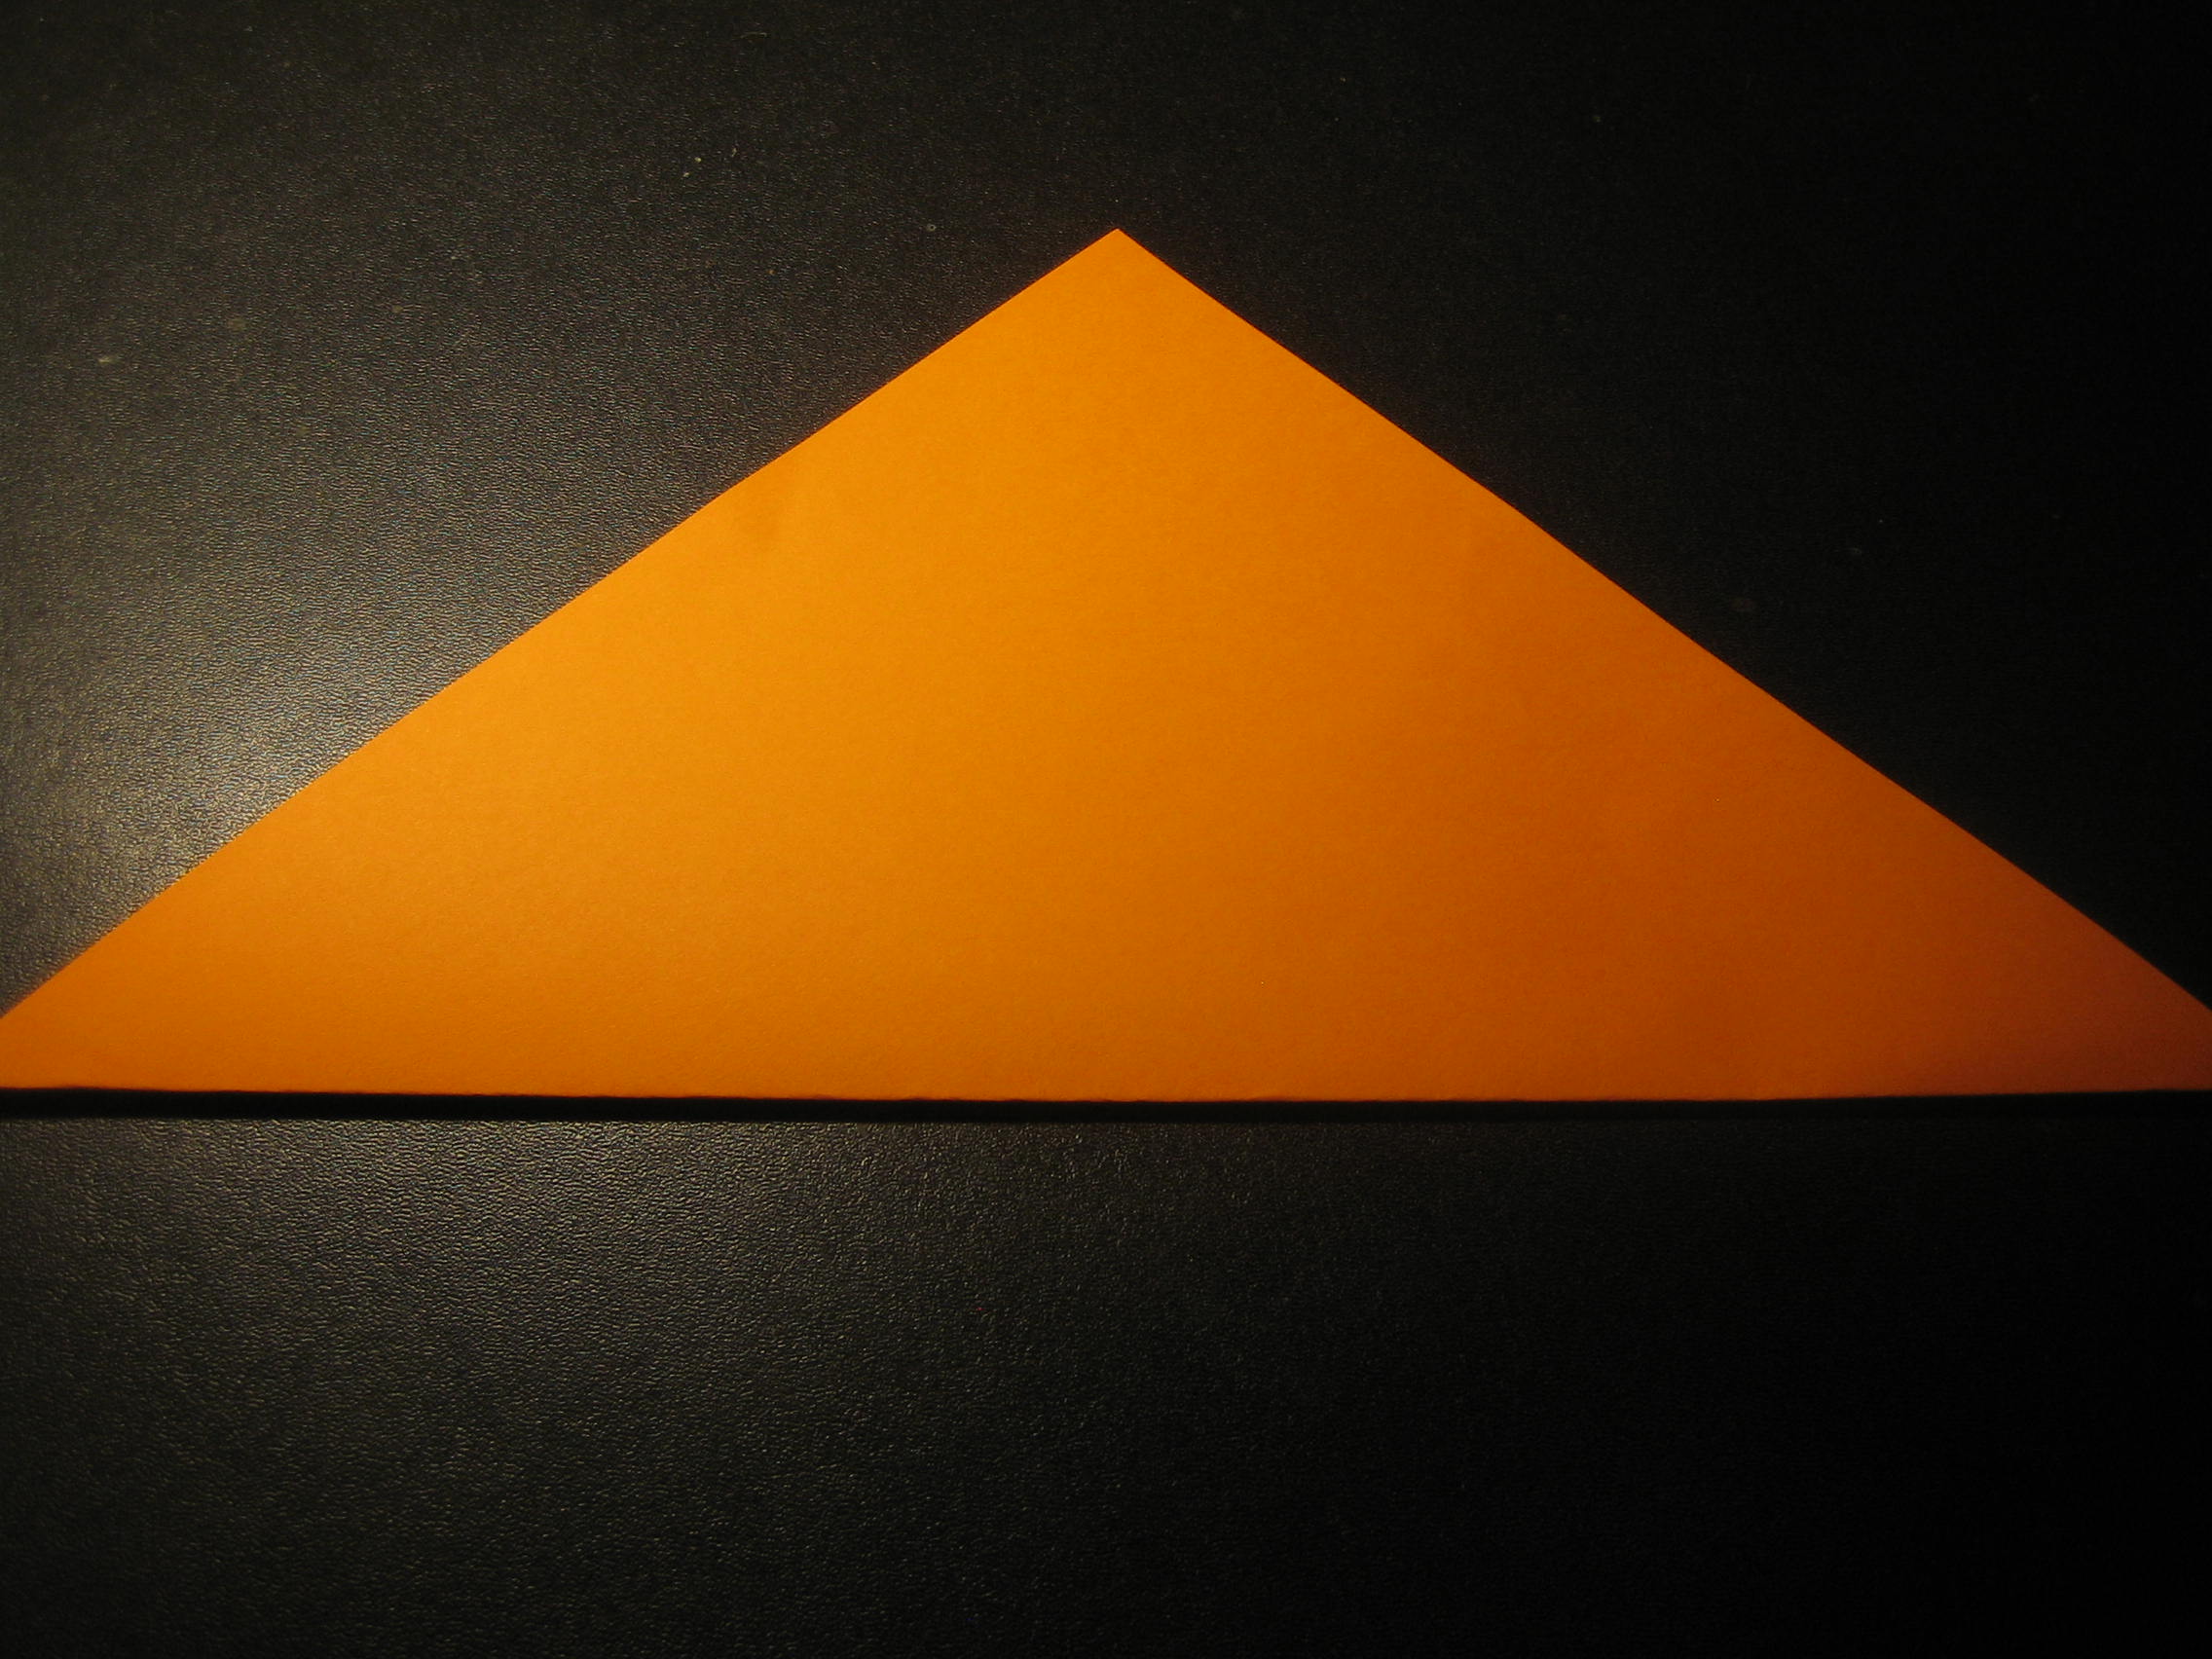
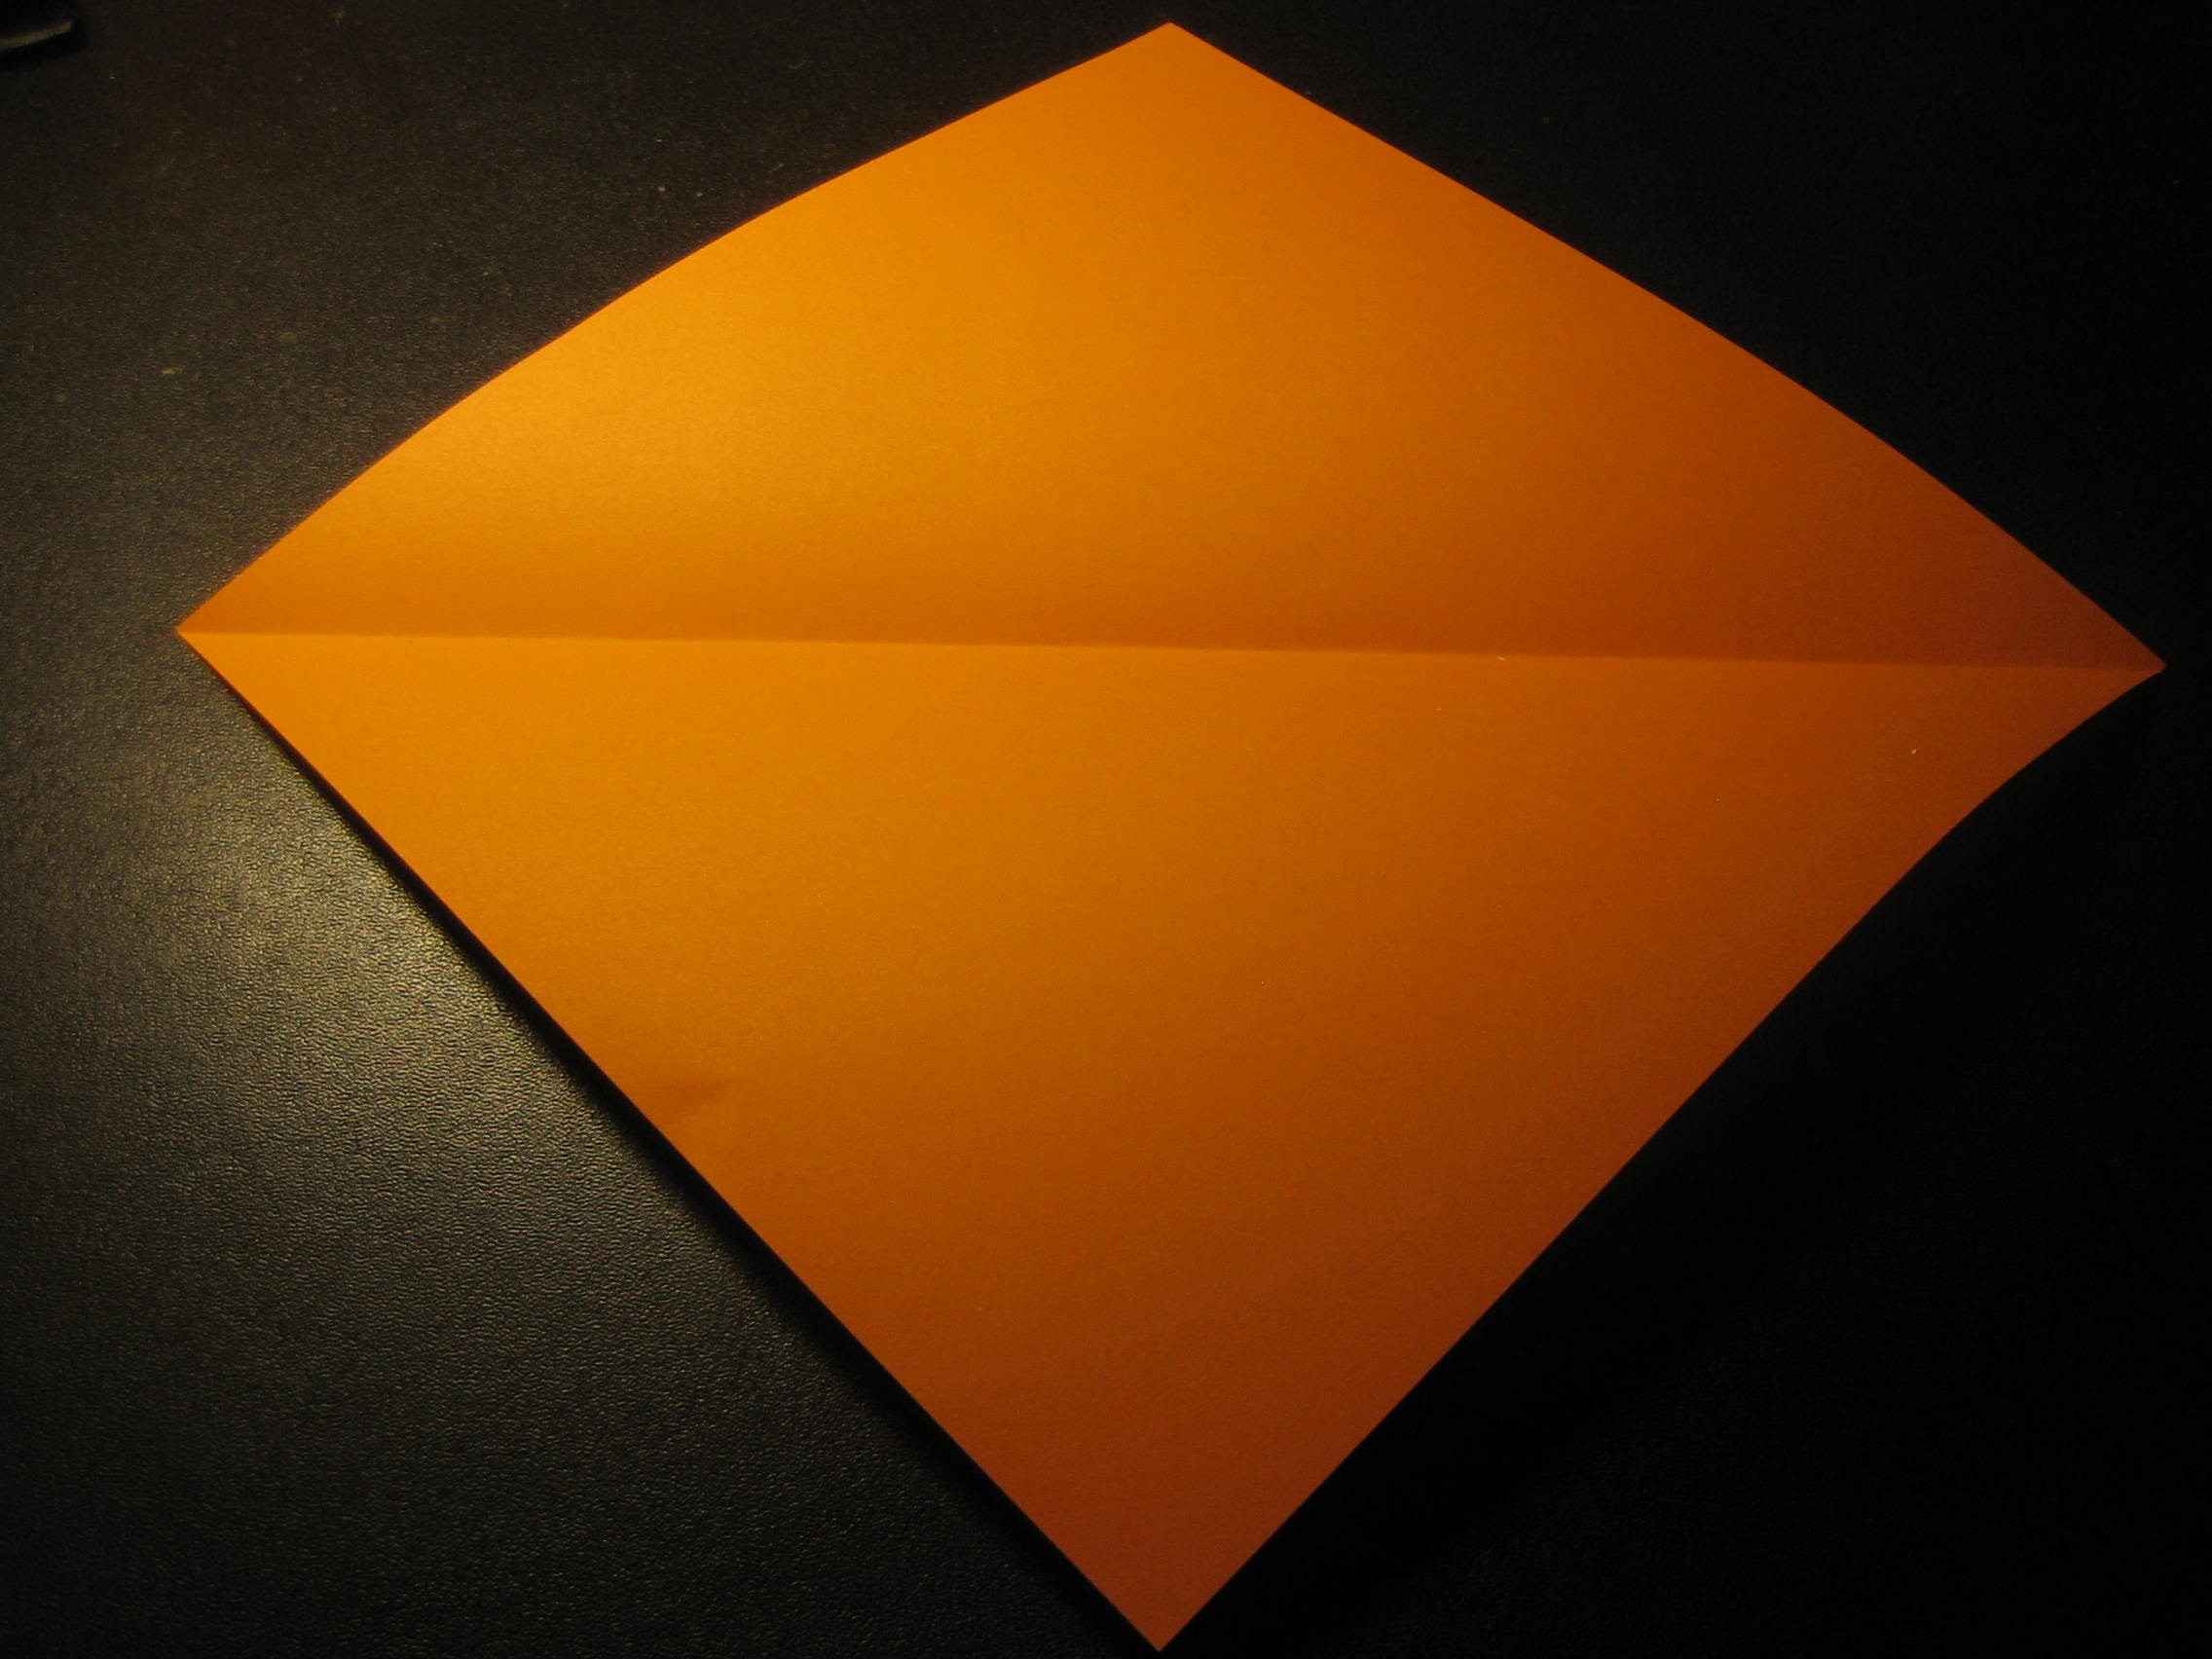 Choose a nice piece of paper, it should be square in size. Fold it in the middle.
Fold the right and left corner into the middle, so that they overlap. 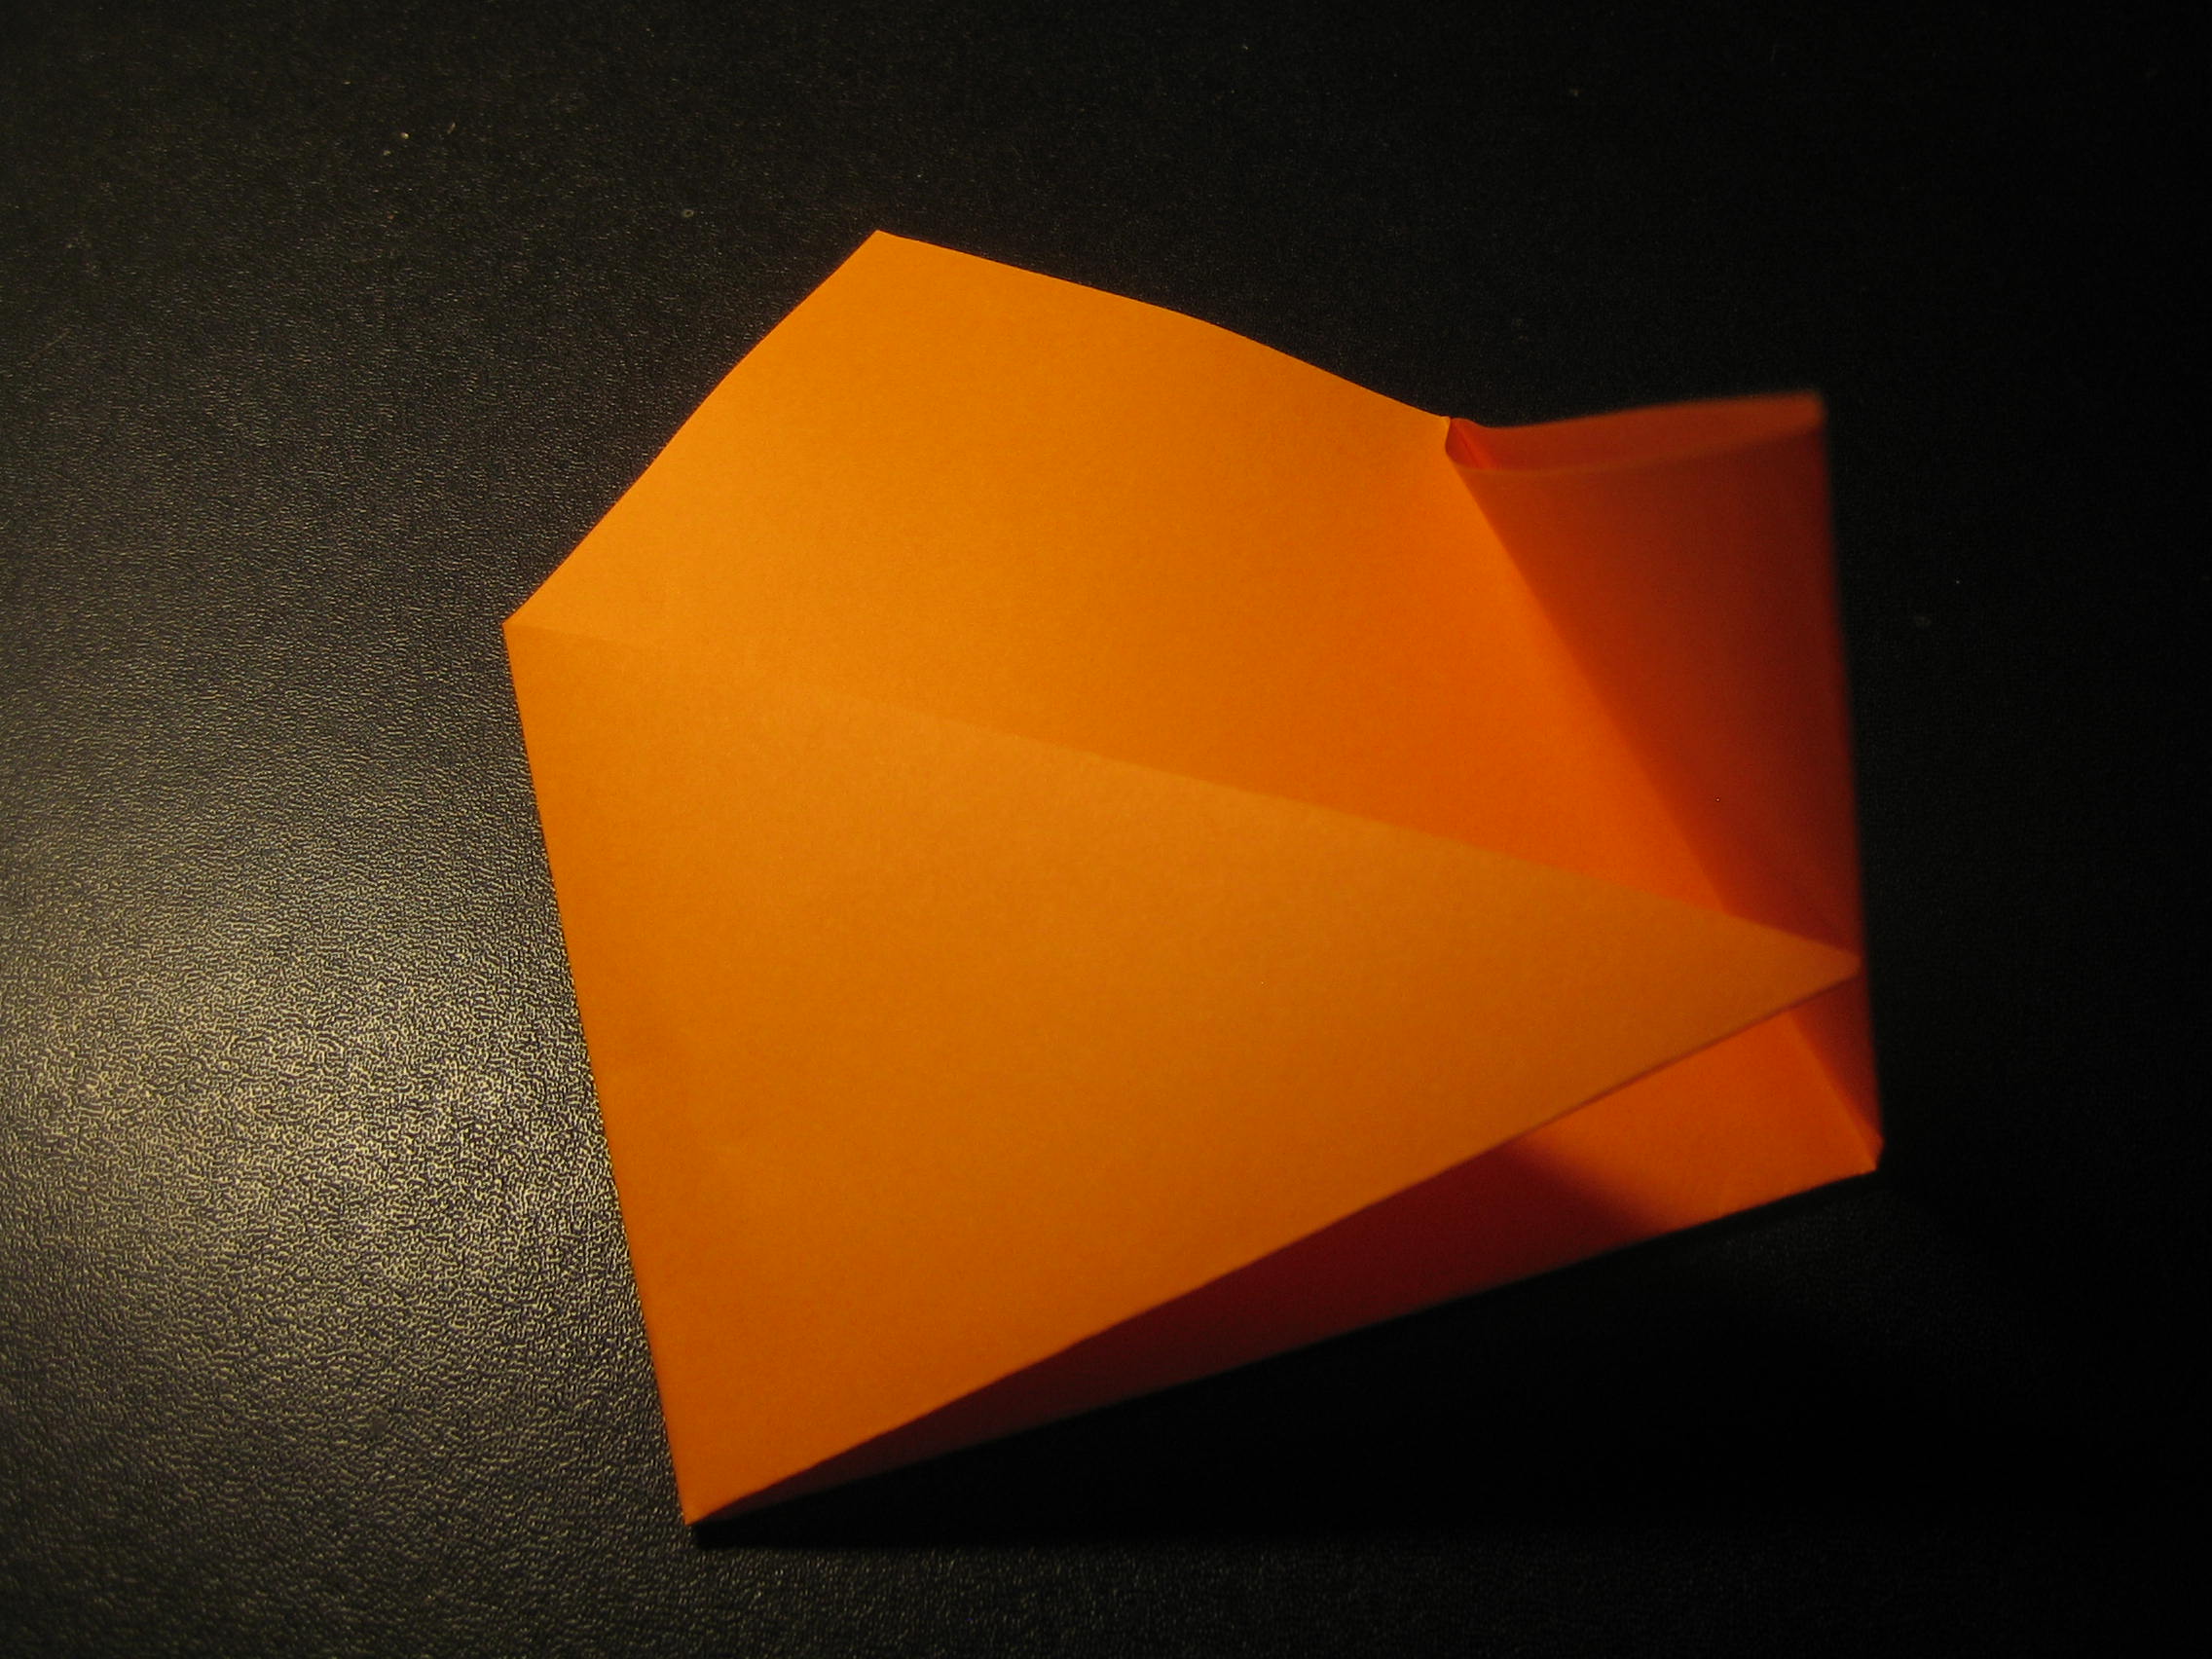 Then insert one corner into the other, this makes the envelope hold together.
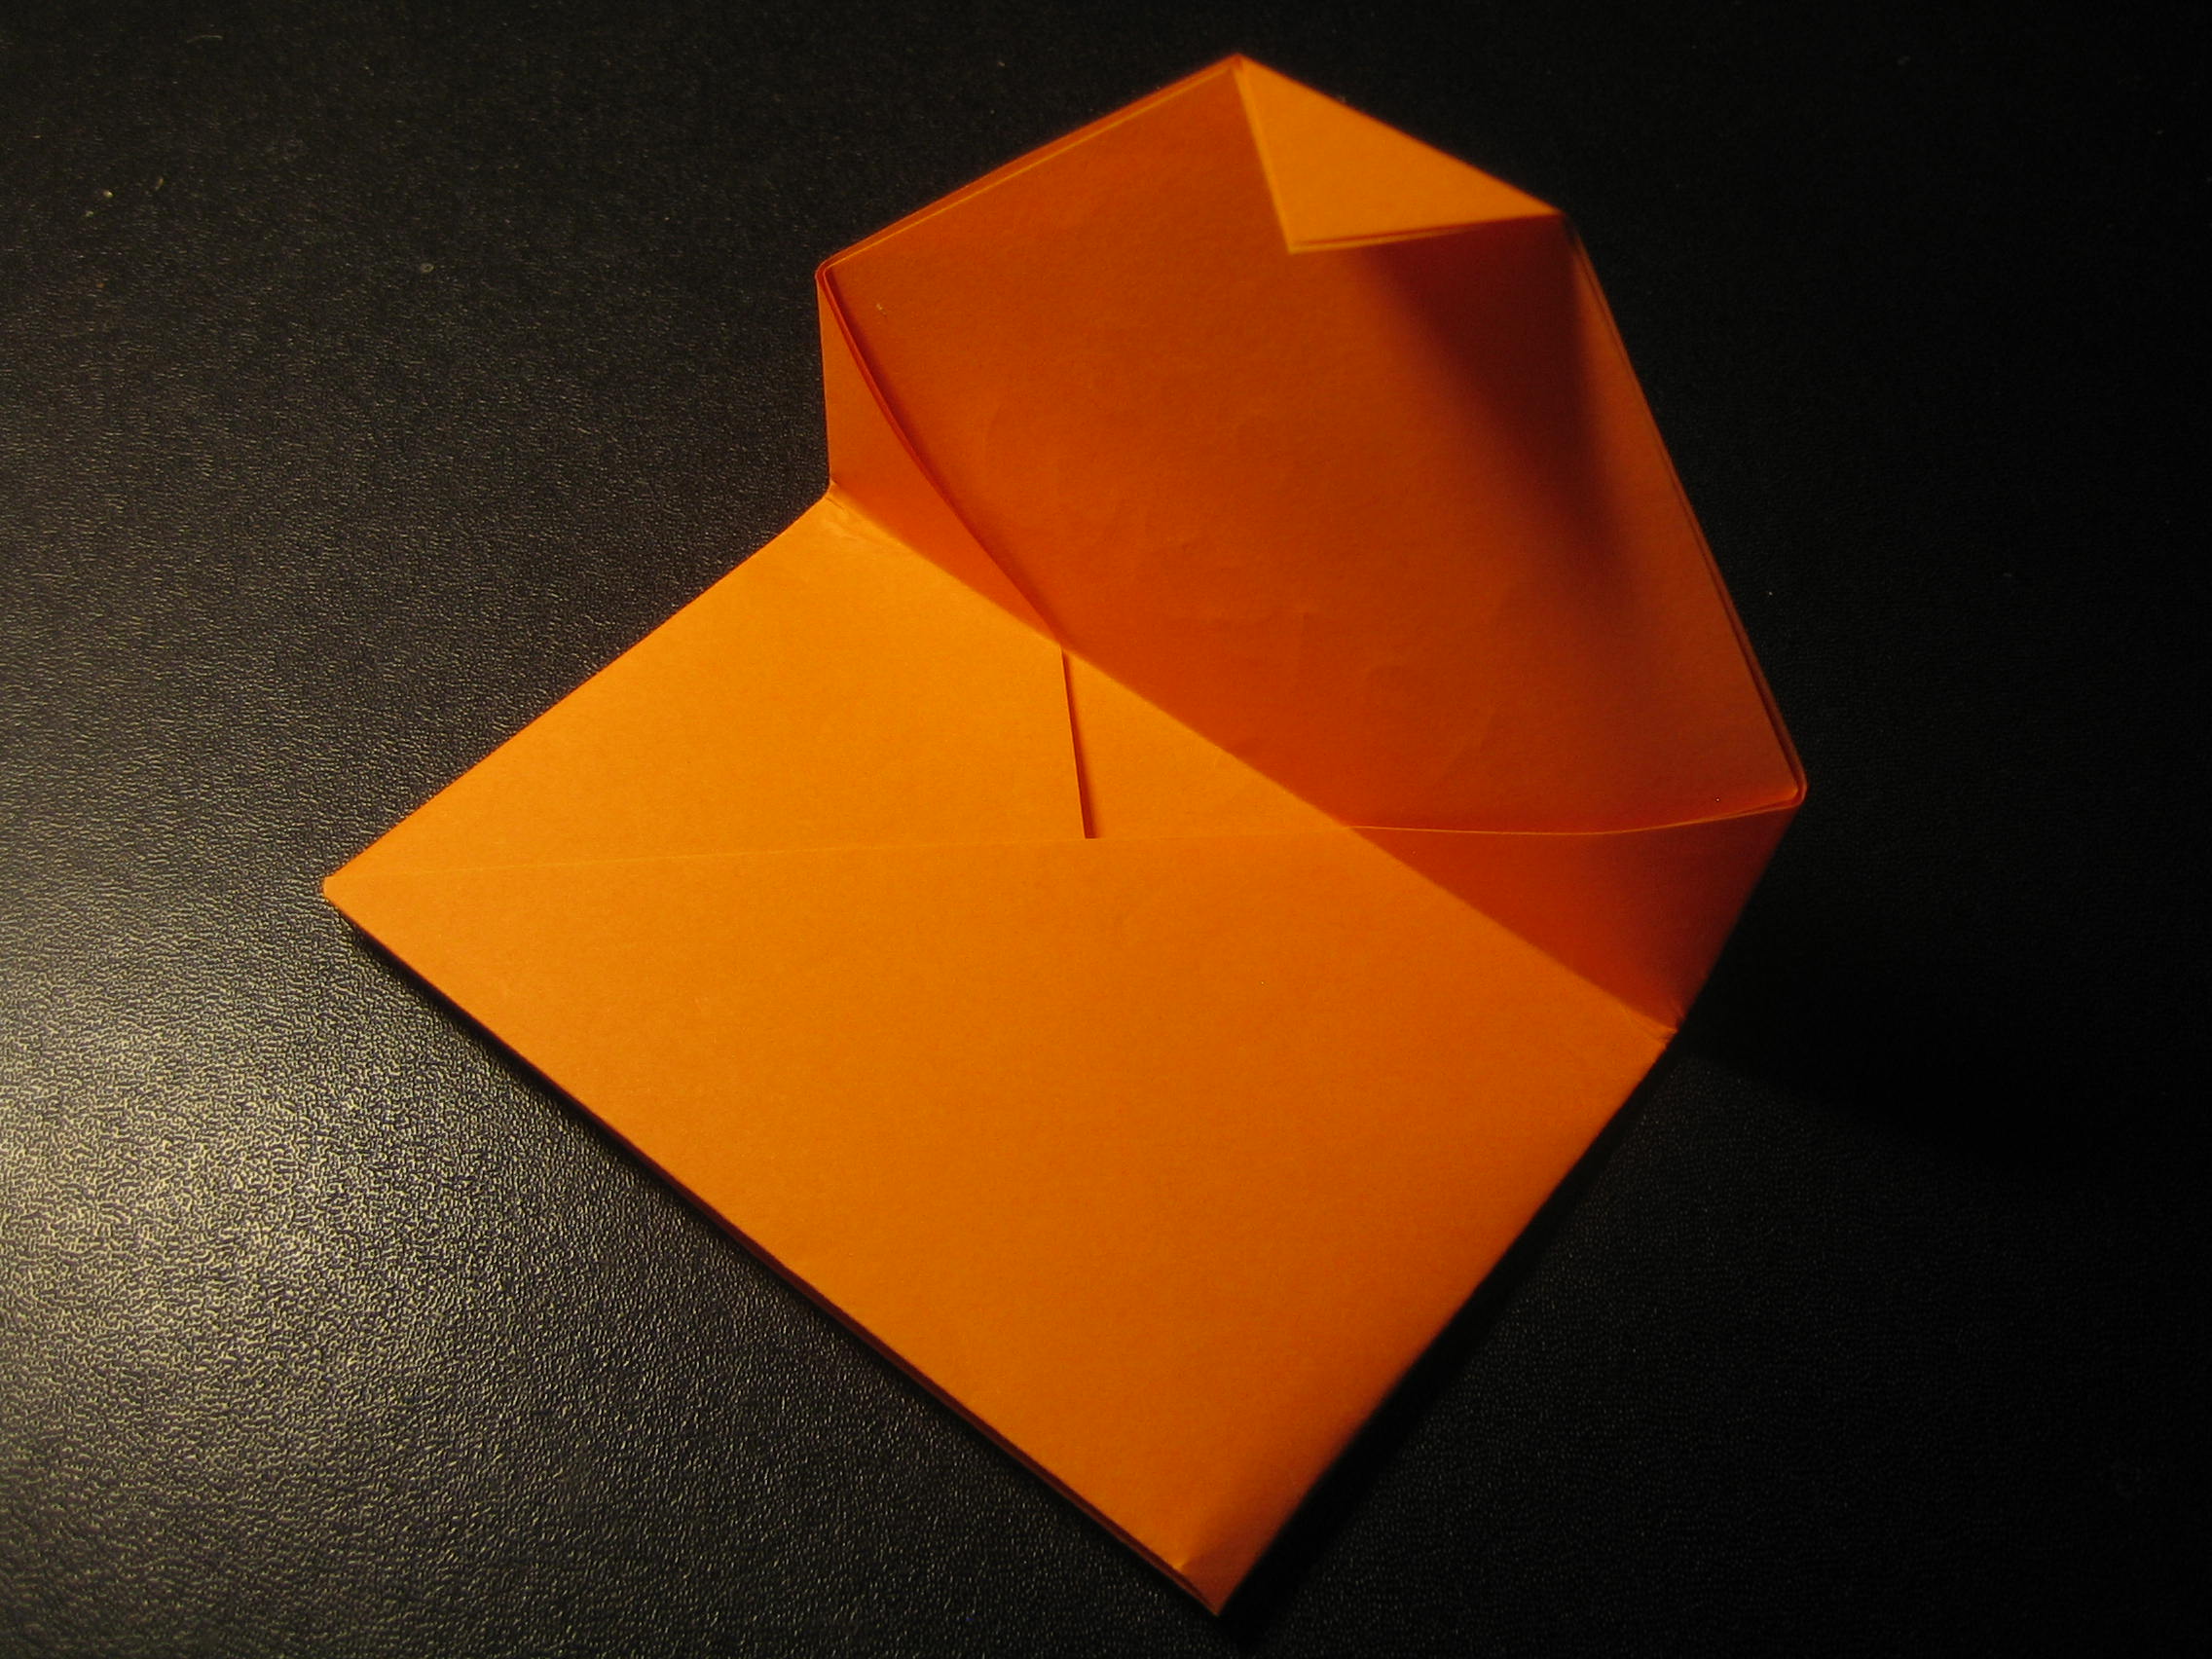
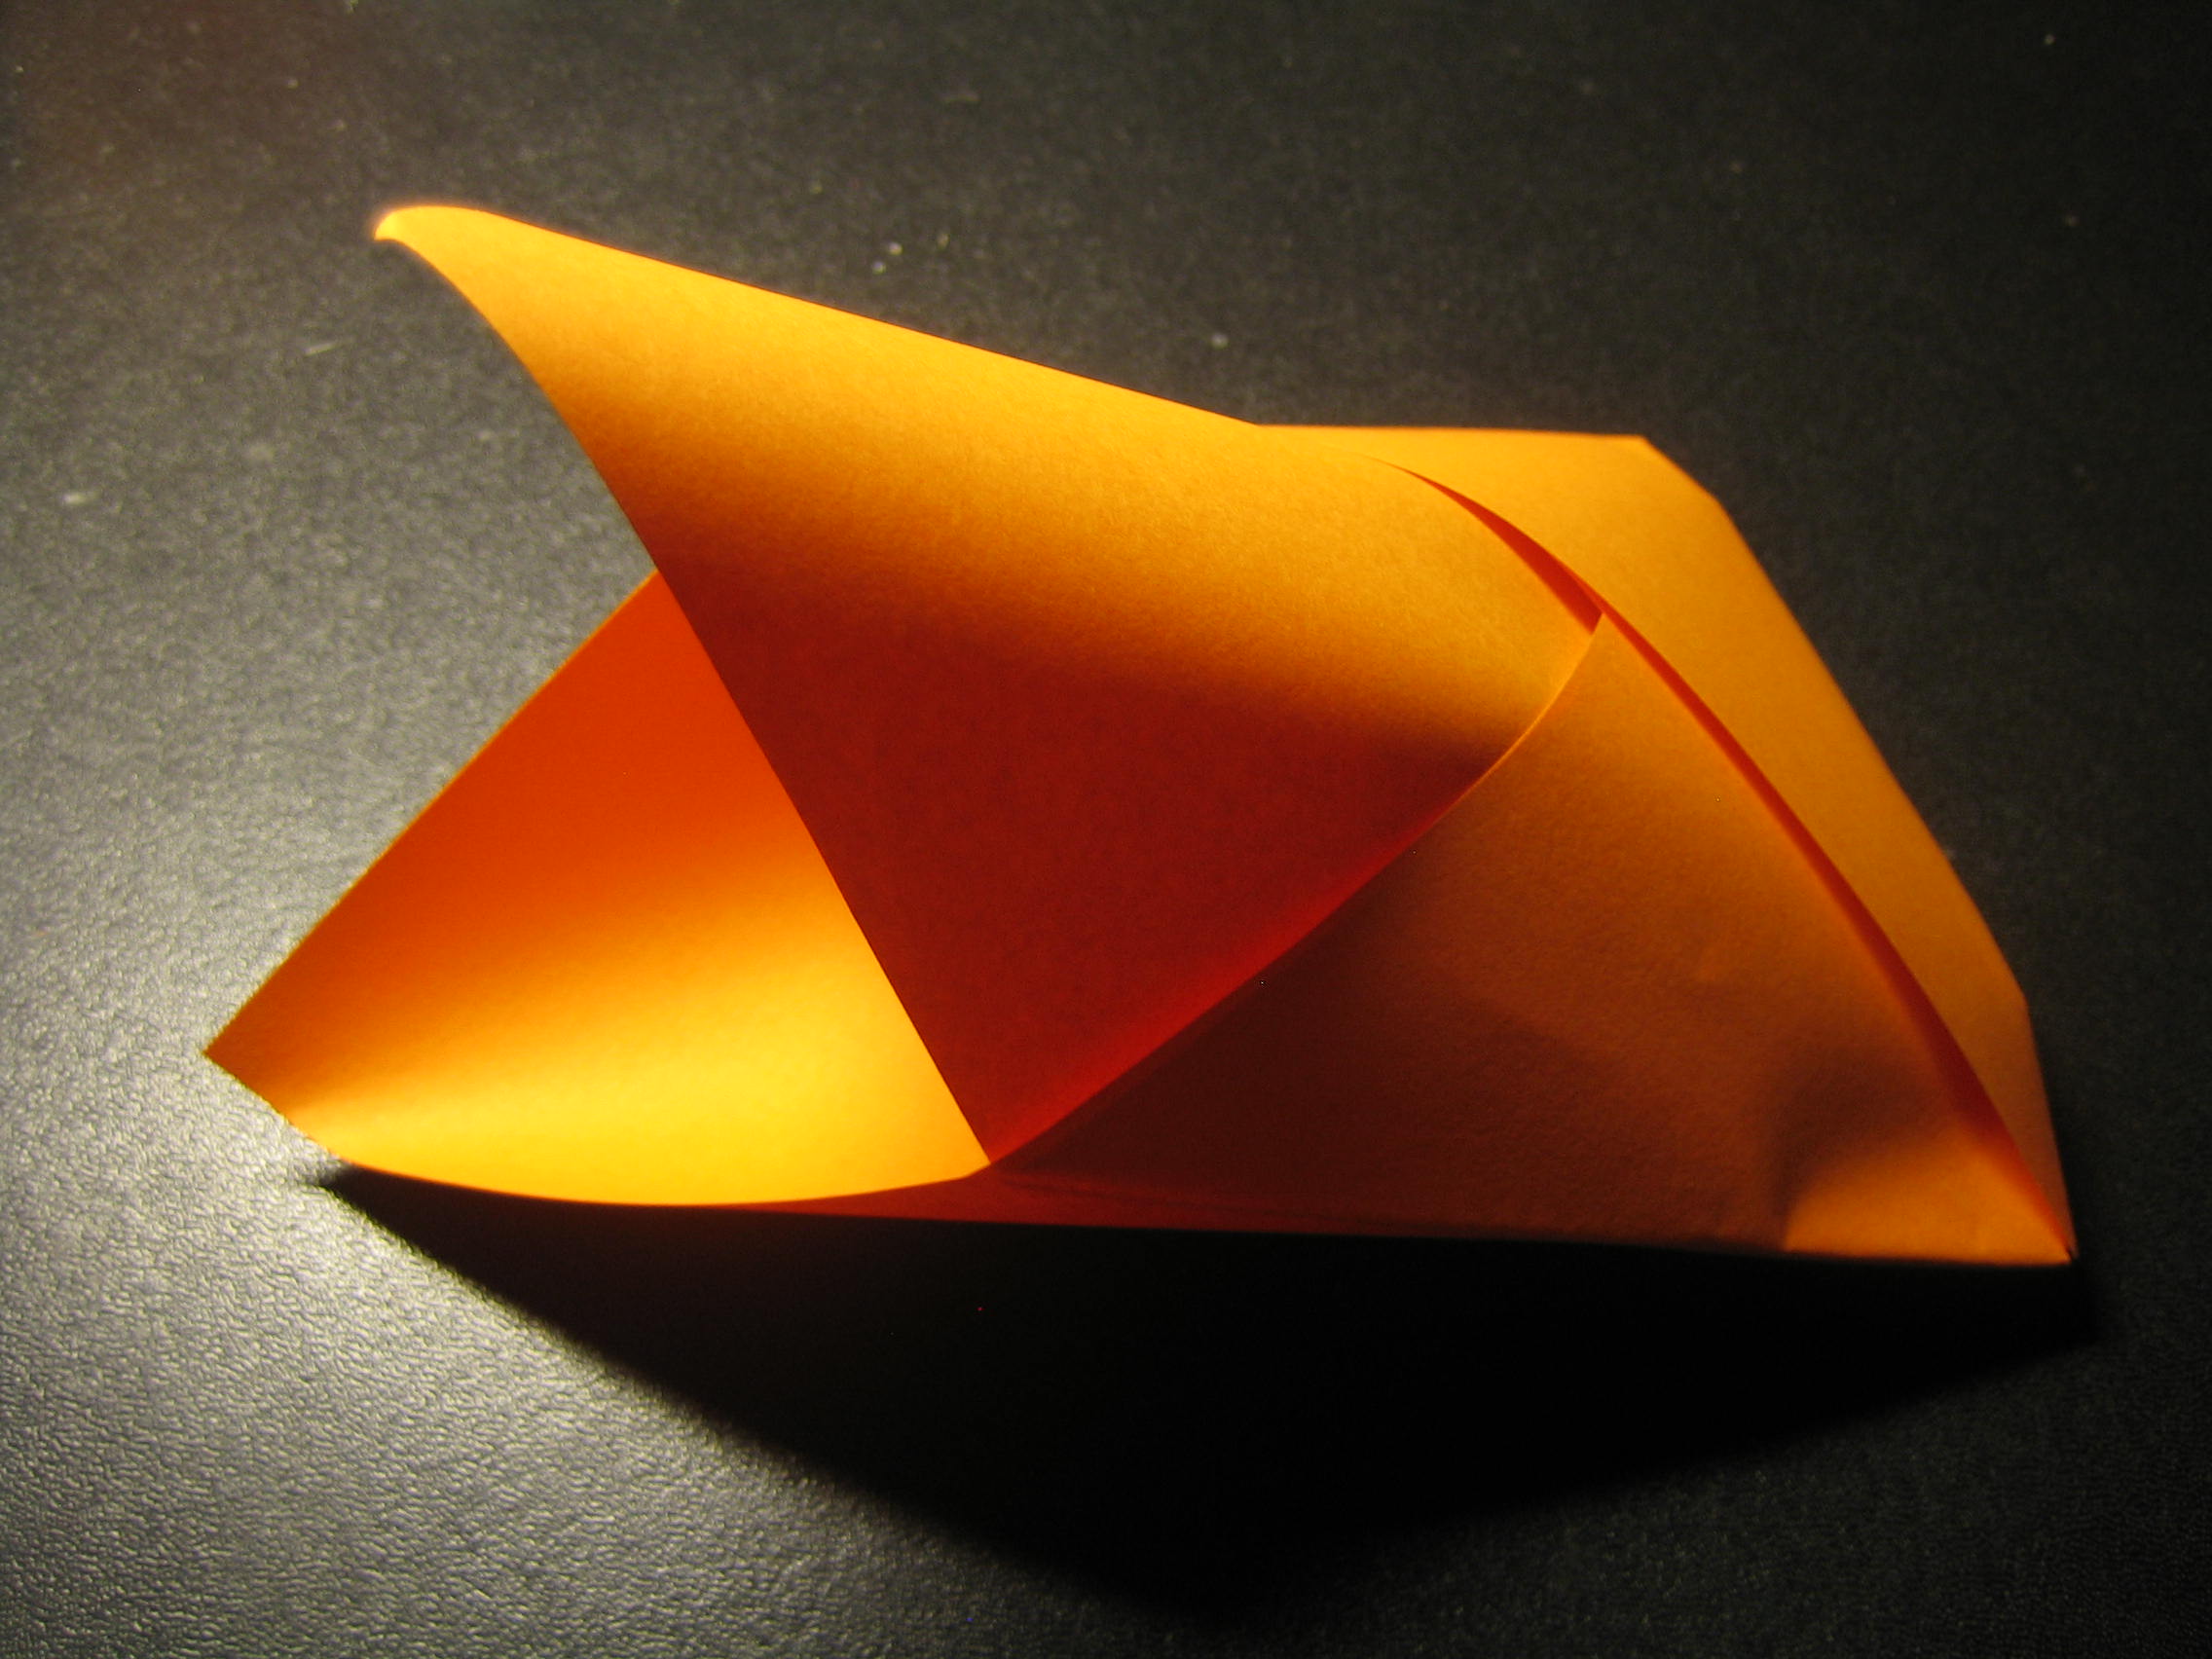 Open up the top angle (which consists of two layers of paper). Now you have an envelope to put the seeds in. Then fold the top angle into a lid. Fold it so that a little part of the top reaches below the bottom of the envelope.
  There you tuck it into the bottom to close the envelope.
And here is your envelope, ready to give away as a gift or to store the seeds for future planting.